Ribbon belt
>> Wednesday, February 22, 2006
 I saw someone wearing a nice ribbon belt the other day and decided to make one. I thought I might as well show how to do it too, because it's so easy anyone can do it but maybe they just don't know how. Although it's possible that either you know how to sew and you're thinking "um, duh, I think I could figure that out" or you never sew and you're thinking "as if, I don't think I'll be doing that any time soon." Hopefully there will be someone in the middle who will say "cool! I'd like to do that and now I know exactly how!" See what I go through when I blog? It's amazing I write anything at all with all my worrying about what people will think. (This is why I'm always so appreciative of the nice comments and emails I get.)
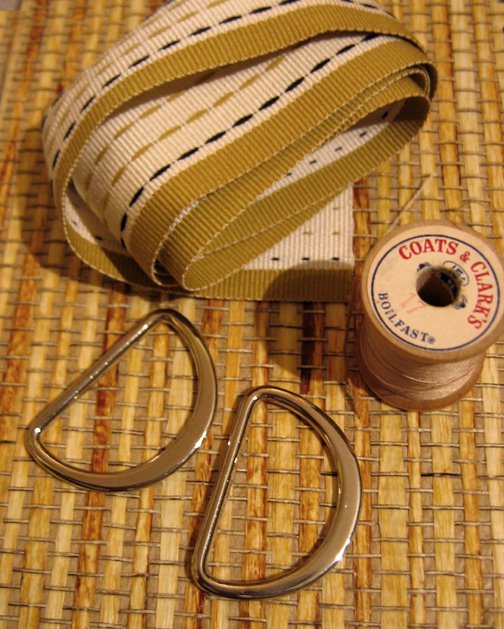
The picture above shows the ingredients, things you just might have lying around. If not, the metal rings are called d-rings, and they sell them at button/notion/sewing stores. Some of them have a little gap in the middle, but these ones don't and I think they're a bit nicer but harder to find. I found them in the Trimcité store in Montréal. (Incidentally my friend just mentioned to me that he had never associated Montréal with so many crafts stores before. I might mention that you have to make some effort to find them, I didn't mean to suggest that Montréal was some kind of yarn and button wonderland).
Step 1: Wrap the ribbon through both d-rings and pin it down with the end folded under (so that it doesn't get frayed). Sew this in place. I sewed it by hand using a running stitch, then back over filling in the gaps. This way it looks like machine sewing (the same on both sides) and it's secure.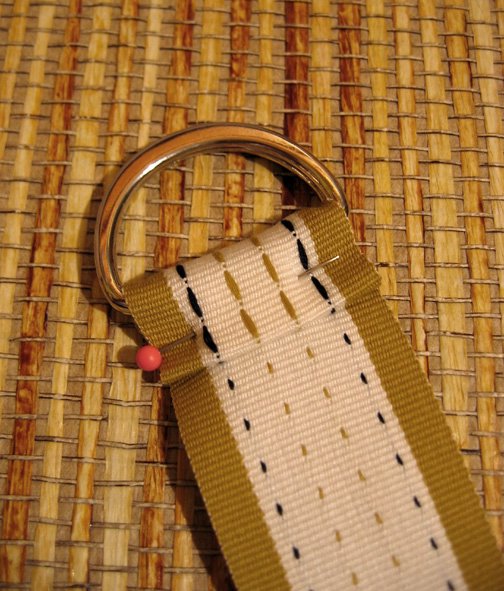 Step 2: Hem the other end.
 That's it! You have a cute ribbon belt. It works best if the back of the ribbon is the same as the front, or if the back looks nice too since it will show.
 In other crafts news, I sanded (briefly) the handles for the purple retro knitting bag, and added the first coat of stain. It has some obvious flaws but I wanted it to still look vintage so I'm happy with it so far.
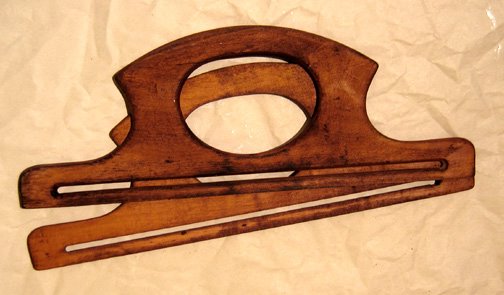 And last but not least, I am the proud new owner of one of Stephanie's (little birds) beautiful kittys! Stephanie's etsy shop was filled up yesterday but is emptying out really quickly. My kitty's name is Ingrid and I can't wait until she arrives!


9 comments:
Thanks for sharing all these addresses from Montreal. I actually live here and didn't know about the stores you visited when you came to town. LOL!
Montreal must be some kind of crafting utopia as I can't seme to find ribbons like that in the UK!
thanks for tutorial, I'll have to give it a try.
Thanks! I love that ribbon.
Oh! You got that cute Eleanor! I got the little lamb for Emma's easter basket. Stephanie's things are just so sweet. I love the ribbon you chose for your belt.
First comment on your blog. I love it.
Thanks for the tuto of the belt, I think I'm gonna try it next WE.
Lucky you you the owner of Eleanor ;o)
I have used old men's silk ties to make similar belts...I love the patterns you can find!
great idea! I even have some lying around that I bought because I liked the fabric/patterns!
I never thought about making my own ribbon belts...it looks so easy I think I'll never buy another one! thanks for sharing all your wisdom :)
And the varnish on the handles turned out really well.
Post a Comment